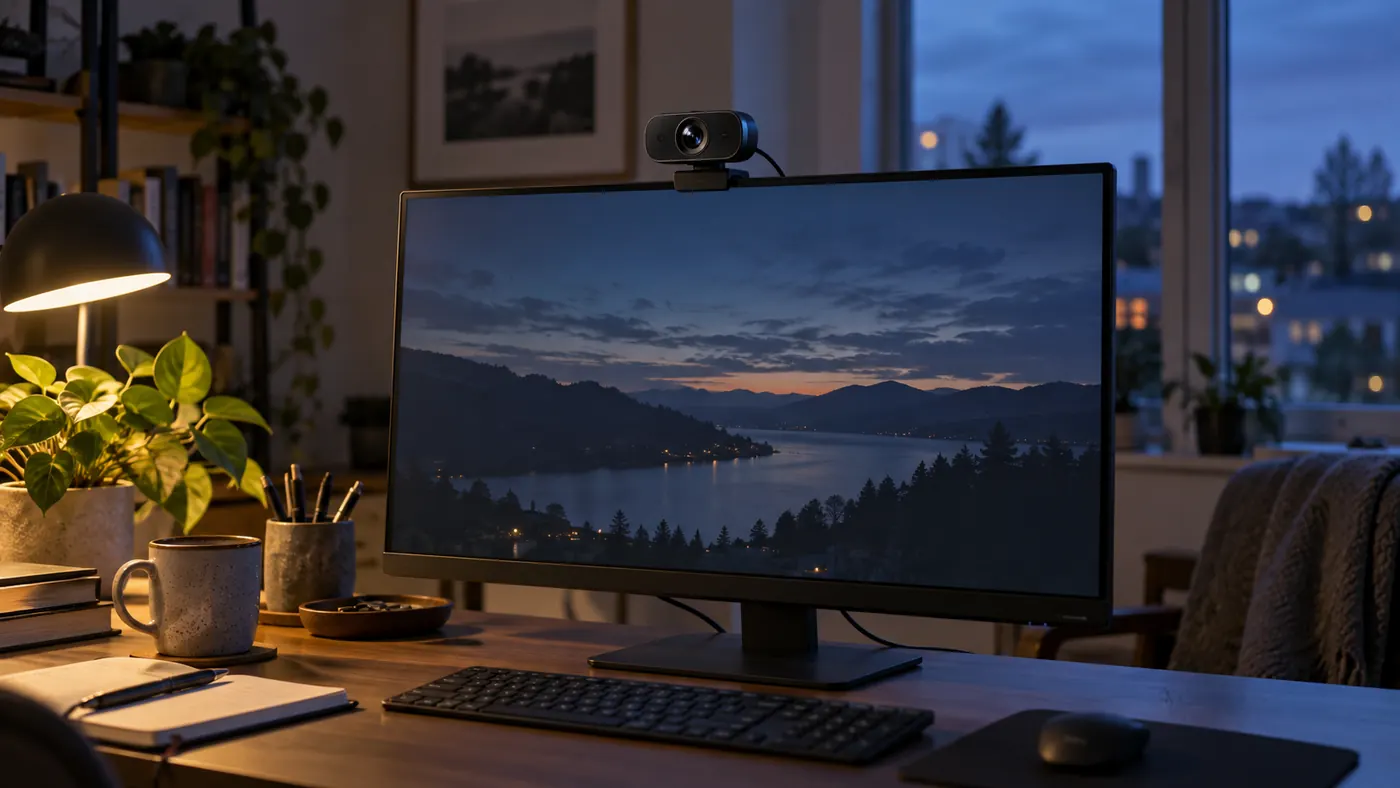
Begin with the room, not the marketing claims
Low-light webcam decisions begin with the light already in the room. A product roundup can help narrow the field; the LeStallion guide to webcams for low-light video meetings is a useful model-focused starting point. This feature takes a different route: it asks what a camera, a light, a face, and a meeting platform must do together before a label such as “low light” means much. The goal is a repeatable call setup, not a claim that one device wins everywhere.
I do not treat a dim room as a defect to be hidden by software. It is a set of constraints: where daylight changes, where a lamp reflects, where the screen sits, how far the speaker is from the lens, and how much motion the call contains. A camera can brighten a frame by increasing gain or slowing exposure, but both choices trade something away. Knowing the trade makes an ordinary webcam easier to assess and a higher-end one easier to use well.
Start by looking at the face on the screen while the room is used normally. Notice the darkest cheek, the brightest lamp edge, the background objects that become distracting, and the color of the wall behind the chair. A short baseline note makes later changes intelligible. It prevents the common mistake of changing a camera setting, a lamp position, and a platform filter at once, then having no idea which change caused the improvement.
What “bright enough” really means
A video frame needs enough light for the camera to separate tones without inventing a fog of noise. That does not require a studio. It requires useful light arriving at the face more consistently than the room’s darkest corners do. The relevant question is not whether the desk looks cozy to the eye. Human vision adapts quickly; a small image sensor does not adapt in the same way.
Webcams commonly respond to dim scenes by raising sensor gain. Gain can reveal a face, but it also makes random variation more visible. That is why a brightened image can look grainy or smeared even when the speaker has not moved. Slower exposure can reduce that grain, yet motion—typing, nodding, turning to a second display—then becomes softer. A practical setup balances these effects rather than chasing maximum brightness.
The easiest reading of a usable image is simple: skin tone remains distinct from the wall, the eye area is not an empty shadow, and movement does not dissolve into trails. Fine texture on a shirt or a bookshelf can be secondary. Meetings need a clear, stable speaker more than a dramatic view of every object in the room.
Make a small light do a specific job
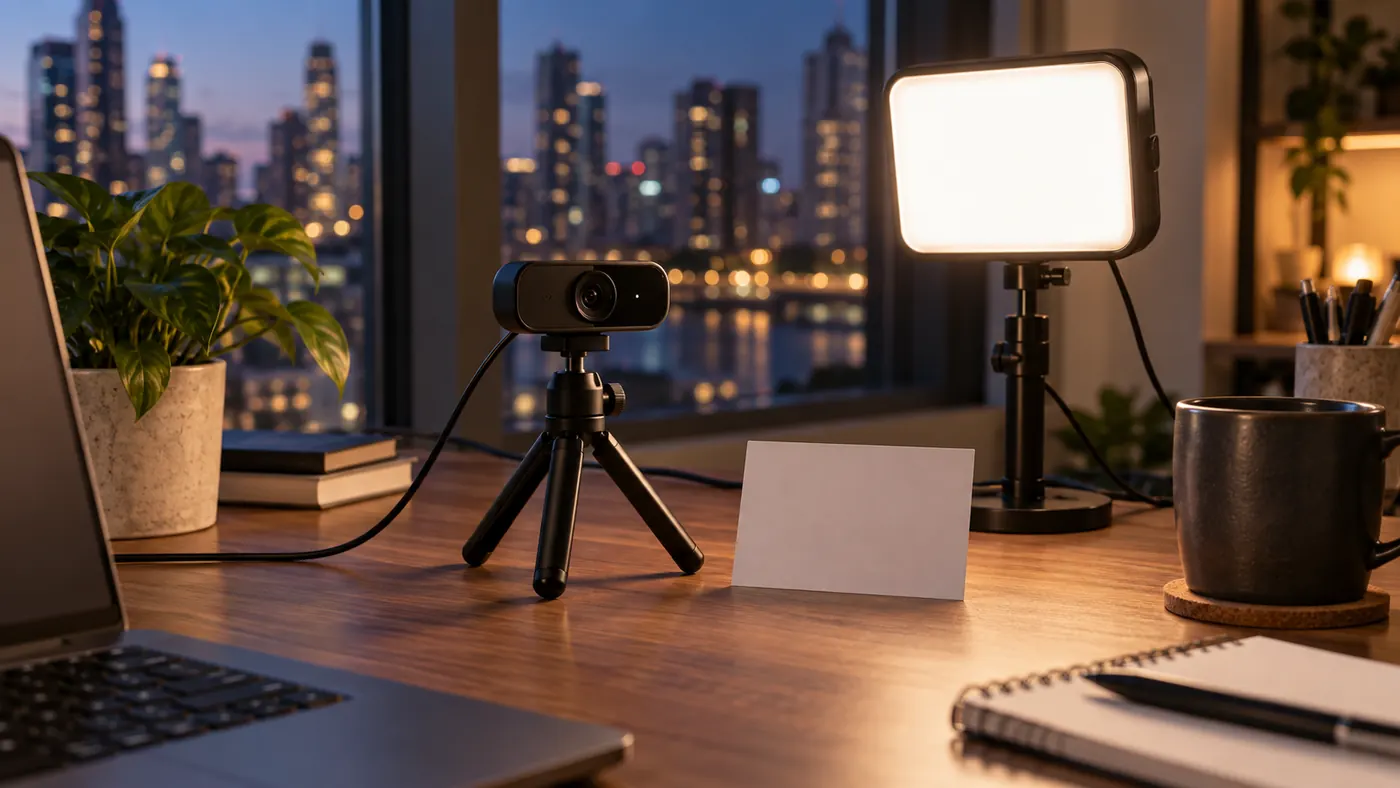
A modest lamp placed deliberately often changes a call more than a different webcam does. Place the light near the lens but slightly above eye level, then move it off-center until one side of the face has a gentle shape instead of a hard split. The aim is to give the sensor a reliable subject, not to make a room look artificially noon-bright.
Avoid pointing a bare, intense source directly at the face from very close range. It creates bright forehead highlights, eyeglass reflections, and a tired-looking contrast pattern. A shade, a bounced wall, or a diffused panel makes the source larger from the speaker’s point of view. Larger apparent sources tend to make edges softer and are easier to keep comfortable over a long meeting.
Once a light is in place, turn it on and off while watching the preview. If the face changes from muddy to readable without the background becoming distracting, the change is doing useful work. Keep the light’s position marked with a small desk reference if the setup is repeated. Reproducibility is more valuable than a one-time perfect arrangement.
Choose controls that preserve motion and color
Camera controls are not a menu of independent quality switches. Exposure, gain, white balance, frame rate, sharpening, and noise reduction interact. Automatic mode can be a sensible starting point in a stable room, but it may chase a bright window or a moving screen. A manual or lockable setting is useful when it helps the image remain consistent through a familiar call routine.
For conversation, motion clarity matters. A very slow exposure can make a still person look clean while leaving a hand gesture or a head turn blurred. If a room needs that much exposure, improve the light first. A modestly noisier image with natural movement can be easier to read than an unnaturally smooth image that has lost expression and lip detail.
White balance deserves a separate check after light placement. Mixed daylight, warm lamps, and cool monitor light can push skin tone toward orange, gray, or green. Use a neutral object as a visual reference and make one change at a time. The purpose is plausible color, not a theatrical color grade.
Use the meeting app as the final stage, not the cure
A meeting platform may add background blur, portrait framing, low-light enhancement, or automatic exposure behavior. Those features can help, but they operate on an image already limited by the camera and room. Treat them as a last stage in the chain. First make the camera preview understandable; then see whether a platform effect preserves that improvement in the actual call view.
Test through the same application, account type, and connection path used for meetings. A native camera preview may look different from a browser tab or a virtual-camera feed. Record resolution, frame rate, and enhancement options in a short setup note. That is especially useful when an operating-system update quietly changes a selected input or resets a privacy permission.
Do not use smoothing as evidence that a call is technically sound. Heavy noise reduction may erase texture along with noise, and background effects can stumble around hair, glasses, or a moving hand. If the image is readable without them, they are optional. If it is unreadable without them, the room and camera baseline still need attention.
Frame the face before styling the background
The most valuable part of a meeting image is usually the face. Put the lens near eye level, sit far enough back that the head and shoulders fit without distortion, and leave a little room above the head. A low laptop camera can be lifted with a stand or external display placement; the change helps eye contact and gives lighting a more predictable target.
Background choices should follow privacy and contrast, not fashion. A simple darker or mid-tone background can keep a face from disappearing, while a bright window may force the camera to expose for the view behind the speaker. Move the chair, rotate the desk, close a blind, or use a plain surface before assuming a computational background is necessary.
Check the view at the size colleagues actually see. A large local preview can make a background detail look important when it vanishes in a small grid tile. Conversely, a bright lamp at the edge may seem harmless locally and become a constant visual interruption for everyone else. The right framing is the one that reduces effort for the viewer.
Compare category fit, not invented winners
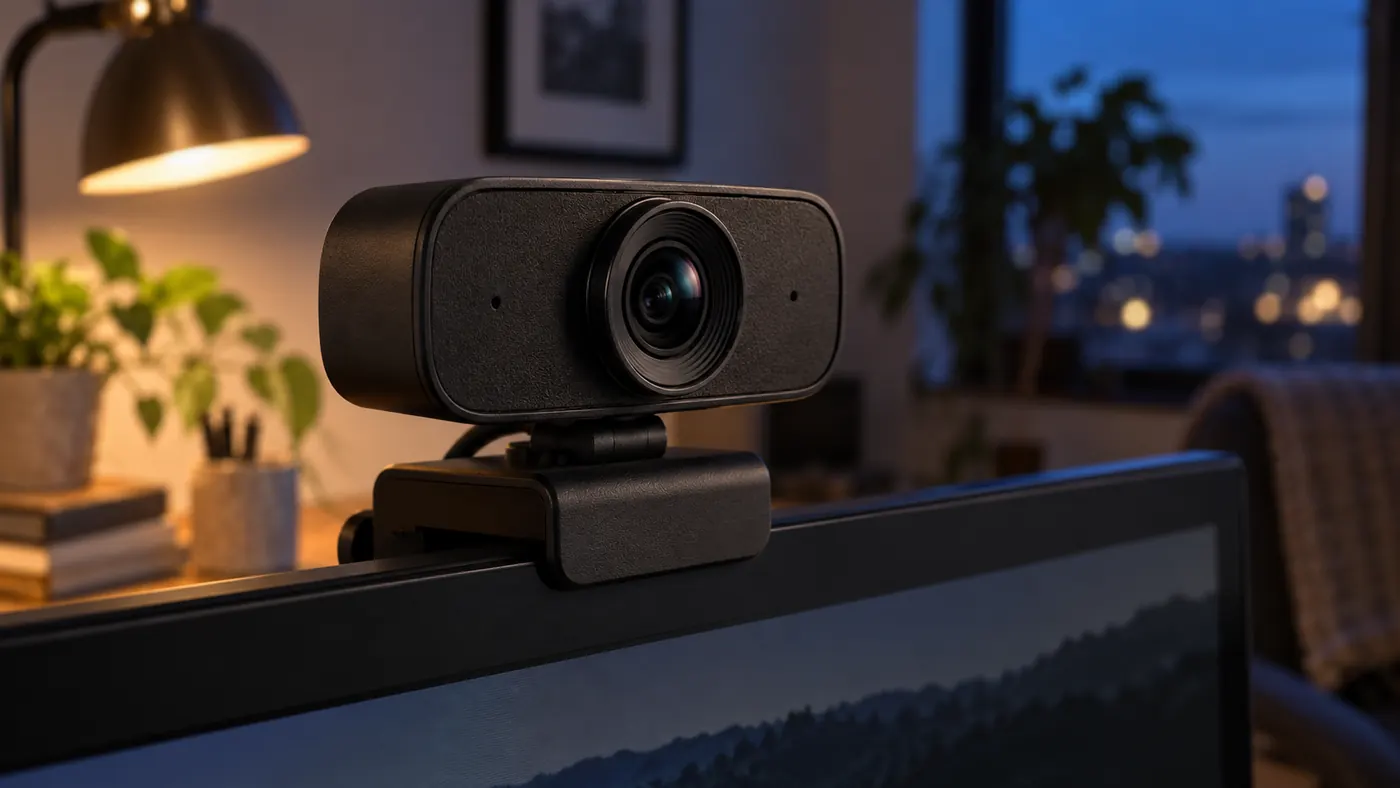
The following table compares practical camera and lighting profiles. It does not rank named products or pretend that a single specification predicts every room. Use it as a screening tool: identify the failure you need to avoid, then look for current products and controls that address that failure without adding a new problem.
| Profile | Useful strength | Best context | Important limit |
|---|---|---|---|
| Integrated laptop camera | Well-lit face; limited controls | A stable desk with useful daylight or a modest front light | May struggle when the room is truly dim or backlit |
| External webcam with control software | Lockable or adjustable exposure and color behavior | A repeatable personal desk where settings can be saved | Controls cannot replace useful face light |
| External webcam plus soft key light | Clear subject light and moderate camera workload | Frequent dim-room meetings with desk control | Requires a place for the light and cable |
| Portable clip light and existing camera | Small improvement without a full rebuild | Travel or temporary rooms where setup time is limited | Can cause glare if aimed too directly |
| Platform enhancement only | Minor delivery-stage adjustment | A already-readable camera preview | Not a cure for darkness, unstable color, or bad framing |
A compact camera with a better low-light sensor may be a good answer for a frequently dim office. A more modest camera plus a well-placed desk light can be better when the room is under the user’s control. An integrated laptop camera may be entirely adequate when the face is lit well and the platform preserves a stable frame. The comparison should end in a room-specific test, not a score.
Run a five-minute pre-call check
Before an important call, open the platform preview, look at the image in the intended framing, and move once. Check whether the face is brighter than the background, whether glasses catch a direct reflection, whether the image changes when a screen turns white, and whether the selected microphone and camera are the intended devices. This short routine catches more trouble than a last-second hunt through settings.
If something looks wrong, change the most physical cause first. Close the blind before increasing gain. Move the lamp before applying a beauty filter. Raise the lens before changing a portrait crop. Reopen the preview after each adjustment. This order keeps the remedy close to the cause and makes the configuration easier to repeat next time.
A small written sequence can be more durable than memory: lamp on, blind angle, camera level, app input, preview check. It is particularly helpful in shared rooms or hot-desk environments where a previous user may have moved a cable or selected a different device. A calm routine is a quality feature in its own right.
Know when the camera is not the bottleneck
Not every ugly call is a low-light camera problem. A weak connection can reduce detail, a meeting app can lower resolution, an overworked laptop can drop frames, and a poorly placed microphone can make an otherwise polished image feel unreliable. Separate capture issues from delivery issues by comparing a local preview with a short recorded meeting test where permitted.
The same disciplined thinking applies to upgrades. If the face remains dark because the only source is a distant ceiling lamp, a new camera may improve the result only slightly. If the room is reasonably lit but the sensor produces heavy noise or the camera gives no useful control, then a hardware change becomes easier to justify. The diagnosis should name the limiting condition.
Avoid treating an online call as a test laboratory with other people waiting. Prepare a short sample clip, test with a willing colleague, or use a private meeting room. Evaluate readability, motion, color, and stability at normal meeting size. The question is whether the setup removes friction, not whether it produces a cinematic still frame.
A dependable low-light decision checklist
The dependable choice is the combination that gives a face clear separation, tolerable motion, stable color, comfortable lighting, and a setup that can be repeated. That may be a webcam with stronger dim-scene behavior. It may be a simpler camera paired with a practical light. It may be a different desk orientation. The useful conclusion follows the evidence visible in the room.
I would keep the buying decision modest and observable: list the room condition, the desired framing, the current limitation, the control needed, and the test that will confirm the change. Read manufacturer documentation for actual capabilities, but do not translate a marketing phrase into a promise about a completely different desk. A low-light claim only becomes meaningful when the workflow around it is clear.
The result should be a call that lets colleagues focus on the conversation. When the setup reaches that point, resist endless adjustment. Save the working positions, leave the lighting comfortable, and reserve further changes for a real problem. Reliability is more useful than a fragile optimum.
A brief checklist before you spend or reconfigure
- Describe the room condition at the hour calls happen.
- Make the face readable with comfortable, directional light.
- Check motion, color, and background contrast in the meeting app.
- Change one cause at a time and record the working setup.
- Test local preview and delivered call quality separately.
The best low-light setup is the one colleagues can read without thinking about it and the speaker can recreate without turning a desk into a studio. That is a more durable standard than a single bright still frame.
Previous independent publishing note
This article follows an earlier, separately hosted field note about compact standing-desk converters for small workspaces. It covers a different subject; the link records the chronological publication sequence rather than implying topical similarity or endorsement.
Consider Stands for Music Workstations
Meeting camera selection differs from supporting a laptop among music equipment. The next guide considers laptop stands for DJ and music production setups, where placement and stability deserve their own checks.